How to Find Great Images
I attended Boston Word Camp this year and one of the most interesting facts I heard was that an image is processed 60,000 times faster than words. Hmmm…. I would rather see in pictures than read a long description but I did not really understand that images are processed this much faster. You know what this means?
Your Images Matter!!!
So what can we do with regards to our websites/posts that can help our images create a quick response and call to action from potential clients? Let’s start with great pictures.
Step 1- Getting Your Images
Use an original image if possible, pay for the image, or find FREE images.
A – Your Own Images
If you take your own images – awesome! Make sure they represent exactly what you want them to represent. If they are showing off a service try and take several images so you can choose the best.
- Before and afters – take from the same location if possible
- Check the lighting
- Check the background
- Take horizontal photos
If you do not take your own images and need to find images then you want to make sure you find them legally. Nope, you can not grab images from Google!
There are FREE stock photography sites in which you can search for images (this does take time but it is Free).
2 – Free Stock Photography Sites
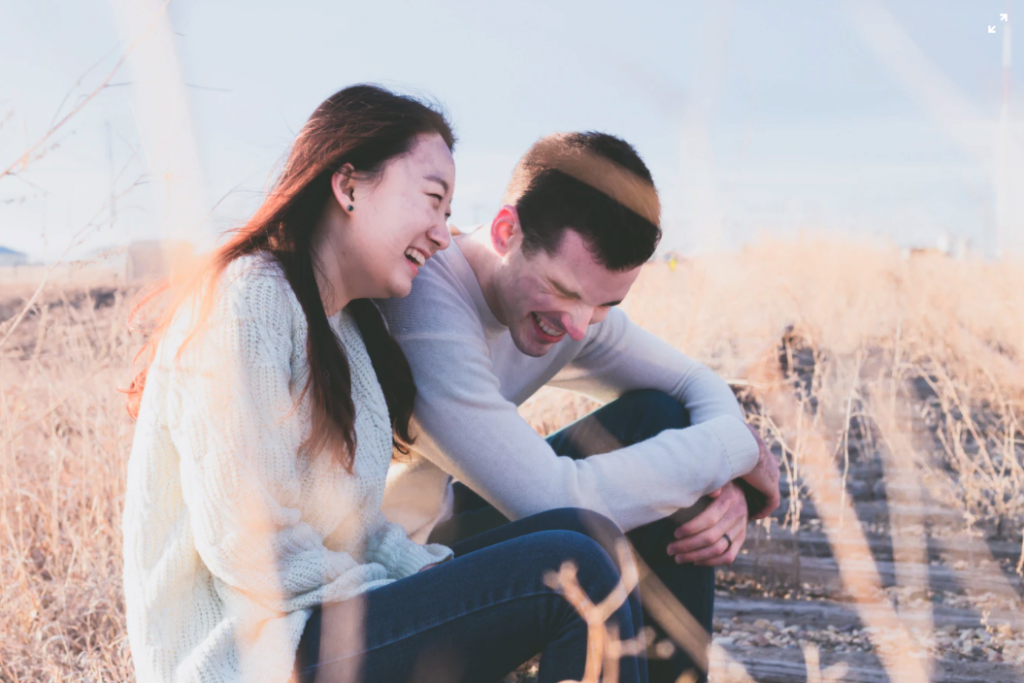
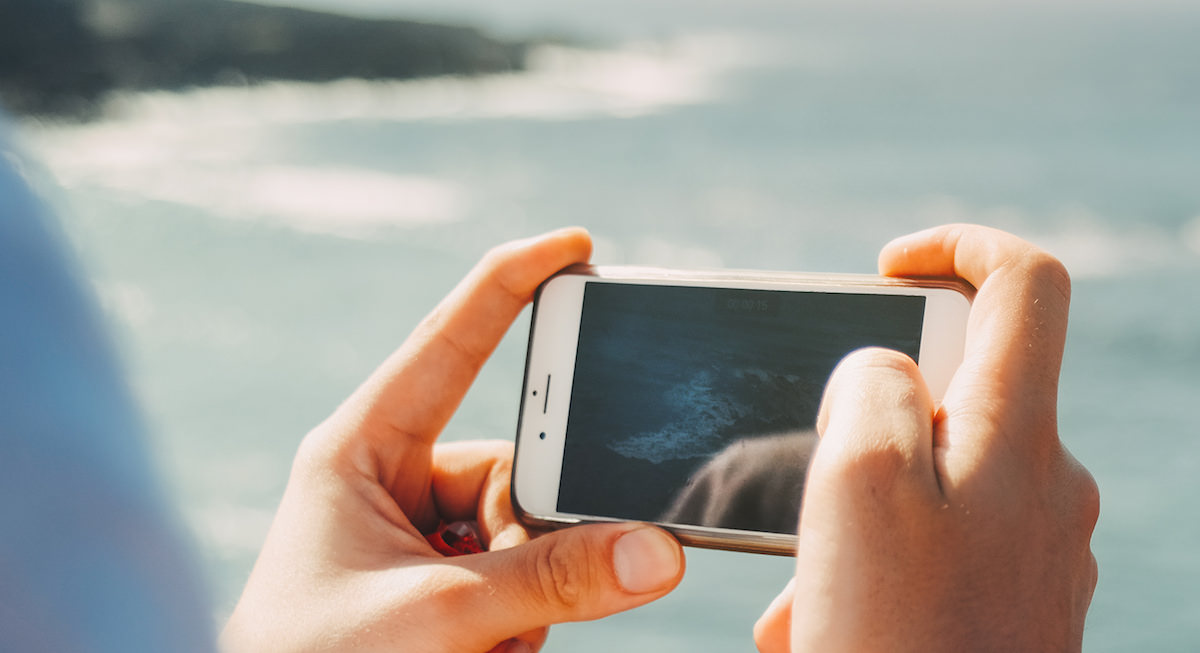
unsplash – My favorite (you will see images on my site from here). They say free – whatever you like with the high resolutions photos! : )
pixabay
pexels
freejpg
stockvault
freeimages
New Addition:
PikWizard holds a library of over 1 million stock images and videos. With PikWizard you can also edit within PiKWizard’s on graphic design software, Design Wizard. Have fun designing!
There’s also no attribution required, meaning you can use each image and video as you please!”
Canva has a good blog post that lists many more great free stock photo sites: Free Stock Photos: 73 Best Sites To Find Awesome Free Images
3 – Pay For Images
Another option is to pay for images. I usually do this for clients just starting out or clients who need something more specific. My favorite paid image site is Deposit Photo. (affiliate link). I purchase their special packages whenever I find them (usually through mighty deals).
After finding the best images you can head over to Canva to create some amazing things. If you would like to learn more about Canva and some other great productivity tools you can purchase our productivity class.
Step 2 – Re-name the image for Google to recognize
Google does read the actual visual of the image so it has to rely on the image title and description. Before inputting your image into your website gallery or post make sure to change the title to something relevant.
Wrong title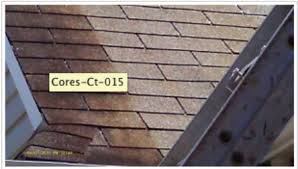
Correct title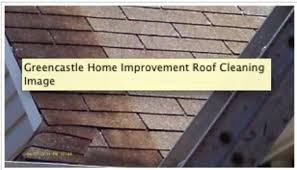
Below are two images, one has been titled correctly while the other has not. They both look the same on the webpage but in the code (what Google reads) they are different. It may not look very important but in the end, your title of the image will decide if the image gets seen as relevant by the search engines.

Step 3 – Size Your Image
Images need to be sized to keep your site speed as fast as possible. A very large image will have an impact on your website’s loading time.
First, adjust your image size. For a post, I will adjust my photo size to 1200X600 or smaller. This is easily done in preview on a Mac. If you have a large number of images to re-size there is an app called re-sizer that works quickly in re-sizing all your images at once.
Next, reduce your file size. Jpeg mini (a free online tool) will reduce your jpeg image size without compromising the image quality. If you need to reduce a png you can use another free online tool called TinyPNG.
If you have any questions or image needs for your site please feel free to reach out and we will be happy to help!